road

road

Monday, July 29, 2013

Some Thoughts on Real Food -- a year later...

Last year when I started in on the real food path, we made a lot of changes in the food we bought. We have really tried to stick to the organic, whole grain, unprocessed version of foods whenever I can get them. We do eat out occasionally and don't worry too much about it (a good rule of thumb I read somewhere was the 80/20-- where you try to keep on track at least 80% of the time and you can be more relaxed on the rules 20% of the time).


When we were thinking about doing this big change, I had some questions. I wondered how eating real food would affect my health. Would I lose weight? (I have a good bit I could stand to lose!) Would it be difficult to stick to-- like a diet?

After a year of this new lifestyle, I finally have some answers.

First, as relates to my health, I have found that I consistently rock my blood pressure & blood sugar tests. I'm not at the doctor all the time but I had a pretty detailed work up recently. I know the doctor was really expecting some weight related issues to come up but BOY was she surprised! All my levels were well within a healthy range-- even though I am just over the border into the "obese" side of the weight range for my height. I hadn't had my cholesterol done before and I was EXTREMELY curious to see what it would show. When I got my results, I was ecstatic! Not only were all my "bad" cholesterol/lipid levels low but my "good" cholesterol/lipid levels were where they should have been as well.


Interestingly enough, my diet includes a decent amount of butter (pastured when I can get it and organic otherwise), eggs (mainly pastured) several times a week, full fat (organic) dairy-- cheeses, sour cream, etc. and beef (mainly pastured) and olive oil but absolutely NO processed oils (corn oil, canola, etc.). If a conventionally educated nutritionist looked at this menu they'd probably freak out. But I think this definitely goes to show that our grandparents had it right. A diet based on real foods, as straight from nature as possible will be a good choice-- even if you cover everything in cheese and butter. Yes, real food might have a lot more fat and calories but we are finding that natural fats are actually necessary for key body functions. In addition, they provide a source of long lasting energy.


While a group of one (me) is hardly a sound scientific study, I can at least say that this "high fat" type of diet has had no negative effects on my cholesterol, lipid levels or weight-- I've neither lost nor gained over a full year. So, this answers one of my questions about fat-- does eating fat make you fat? I think, for me, the answer is clearly "NO". So long as the fats in question are the right kind!


My last question was how hard this lifestyle would be to live/maintain. Honestly, for the most part its been pretty easy. The beginning was hard. I had to change grocery stores and spent double the time shopping just from reading labels alone! Now that I've gotten into a routine and have learned to recognize the brands that don't have processed ingredients, a grocery trip is back to the usual amount of time. In the beginning, I also did a good amount of making foods to replace boxed items (in particular I spent a lot of time developing my recipe for fruit and grain bars as my oldest was addicted to them) But as we've found other new foods and gotten away from the boxed things, we don't really miss them as much as we did in the beginning. And I'm not spending much more time in the kitchen than I did before. The only real challenge I still have is finding quality baked goods (bread, bagels, etc.) that are minimally processed with basic ingredients-- that I actually like the taste and texture of. But I have found a few and I've learned how to do some baking and between the two, I'm getting the job done.


All in all, I think I find the satisfaction of knowing I'm feeding my family quality food from quality ingredients is worth the (occasional) hassle that might come from buying or preparing real foods. I am definitely thinking this will be a true lifestyle change and something that we will be doing permanently!

So what's next for the future?

Since I haven't lost much weight (um... I could still use a little work on portions.....), I guess I should consider working on that. Of course the modern culture of dieting would have me replace all of my real foods with prepackaged/processed low-fat diet foods. Not really something that I'm interested in doing!


So then, what if I don't lose weight?  Can you be both fat AND healthy? Typical medical practitioners would automatically say "no" but more and more information is coming to light that may, in fact go against that.  I've read a few interesting articles this year about how they are discovering that being slightly overweight is actually beneficial to long term health. This one from the NY Times was particularly interesting. The basic sum up from the article (and others like it) is this-- being fit is more important than being fat.  This means an overweight individual who is fit is actually healthier (and have lower mortality) than a person who isn't overweight but is unfit!


I think that for me then, I have "internal" fitness. That is, all my health indicators-- blood pressure, blood sugar, cholesterol, etc., are showing a pretty healthy person. However, my level of outward fitness -- how much energy, stamina and endurance I have, is sort of so-so. So instead of focusing on a specific weight or size, I should instead be looking at my overall fitness.

I don't think I am where I want to be yet. We definitely need to incorporate more activity in our daily lives. Unfortunately, we do not have the time, interest or money to invest in a gym membership. Plus, my hubby and I have different needs when it comes to exercising. I am hopeful that if we actually take into account our individual interests and actual time available for exercise, we'll find something that will work for each of us!


It will be interesting to see how the next year goes as we enter "phase two" of our healthy lifestyle makeover!


Saturday, July 20, 2013

Flourless Peanut Butter & Chocolate Chip Cookies

It's Saturday -- you've been working hard all week-- don't you deserve a cookie (or two)? I know I do!! I found this recipe several weeks ago via Pinterest (Is there anything you can't find on that site?). I'd give credit to the original blogger/site but the link seems to have gone dead. I'm glad I took the time to write it down!

I have to say this is one of the easiest cookie recipes I've ever tried. Very little fussing and you don't even have to break out the mixer if you don't want to! What makes this even more amazing is that it uses NO flour at all. That's right-- NONE! So this is for you, my gluten/grain challenged friends (or if you just happen to be out of flour.....).

Overall, I loved the flavor of this cookie. You really will not miss the flour at all. I also didn't miss the fine dust I inevitably scatter all over the kitchen any time I do use flour! These cookies puff beautifully in the oven. The texture does tend toward the slightly crumbly-- especially when warm. Based on this, I strongly recommend letting these cool for a few minutes ON the pan to prevent unfortunate breakages.

Hungry yet??


Recipe: Flourless Peanut Butter & Chocolate Chip Cookies
Yield: approx. 2 dozen cookies

Ingredients:
1 cup peanut butter (creamy or chunky-- I use a no sugar version w/peanuts, palm oil + salt)
1/2 cup packed brown sugar
1/2 cup white sugar
1 large egg
1 tsp baking soda
1/2 tsp vanilla extract
1 cup chocolate chips (~ 6 ounces or 1/2 a bag)

Directions:
1) Mix all the ingredients together.


2) Scoop by tablespoon (or mini cookie scoop!). You can roll them, drop them or smush them with 2 forks.


3) Bake on a cookie sheet @ 350 F for  about 10-12 minutes for a drop or scoop, more like 7-9 for smushed.


If you get going, you can have cookies in hand in less than 20 minutes. I know that I had the batter together before my oven had even preheated! So get to it!!

As always, feel free to comment or ask questions!! And, if you "like" what you see, click on the button to add us to your Facebook feed!

Wednesday, July 10, 2013

Super Simple DIY Cloth Napkins

Well after nearly 2 weeks of (almost constant) knitting on vacation, I'm glad to be back to sewing. I do enjoy the knitting but I still haven't quite figured out how to do it for any length of time without getting my shoulders all tensed up. Besides, I have all sorts of fabric just sitting there, ready to go. I know I've got more projects than I honestly can do in the next few months so let's get going, shall we?

This time last year I walked you through an easy (and inexpensive) way of getting rid of paper towels. I'm happy to say that we've stuck with it and didn't buy any paper towel until we needed some for camping this summer!

I think the key to success (for me) has been having a system in place designed to make it convenient-- because let's be honest here-- things that are difficult or a pain rarely get maintained! So my program includes having the container of towels right on the countertop-- no need to even open a drawer. They are as easy to access as a paper towel would be (and perhaps even easier since you don't have to rip it off the roll). Secondly, I have a small bathroom size wastebasket (serving as a laundry basket) RIGHT NEXT TO the trash can. So its in exactly the same spot I'd throw a paper towel away. How easy is that? Lastly, I have enough towels to have a full box, plus a complete refill. That way there are always towels available.

This year, I'm going to help you get set up with cloth napkins. I think the key to making cloth napkins convenient is actually the design. Some of the annoying things I've found in the past with the cloth napkins I had was that they were WAY too big, needed ironing if I just looked at them AND rarely looked truly clean after the first use. So, around the end of last year, I spent a bit of time fooling around with some size & sewing ideas until I had a napkin that was a good, useful size but not overly large (who really needs a 18" square napkin for a Wednesday night dinner?) and used a durable (and clean-able) fabric. I also wanted something that wasn't a pain to sew and would absolutely NOT require ironing!

What I ended up with are 2 ply napkins, sewn from quilting cotton fabrics. These are readily available for a very reasonable price, come in cute patterns to suit any décor or holiday theme and are designed specifically to be washed and used over and over again. The finished size of the napkins are approximately 8" square. This is about the size of your standard paper napkin.

I have had a LOT of fun making these. I've been using them at home as well as giving them to friends and family to be tested out in the real world. In fact, there is a certain friend out there that if I don't stop sending napkins to her, she's gonna have one for each day of the year! I've even started making some to sell in my Etsy shop!

That being said, I'll walk you through the process:

Materials:
*1/4 yard of 100% cotton fabric for every 2 napkins-- so if you want 4 napkins, you'll need 1/2 yard total. This can be cut off a bolt of fabric or fat quarters. I've really enjoyed using fat quarter packs to make coordinating (but not matching) napkin sets for a fun casual look. You can also do one fabric on the front and something completely different on the back.
*cutting tools: fabric scissors or rotary cutter/mat
*ruler or cutting guide
*thread-- ideally matching or coordinating with your fabric
* sewing machine -- any old guy will do-- probably even one of those handheld "as seen on tv" guys could probably do the job!
*iron

Directions:
1) Iron all creases & wrinkles out of fabric. I know it seems premature but it really makes cutting and sewing easier without all those creases-- especially in those heavily folded fat quarter packs!

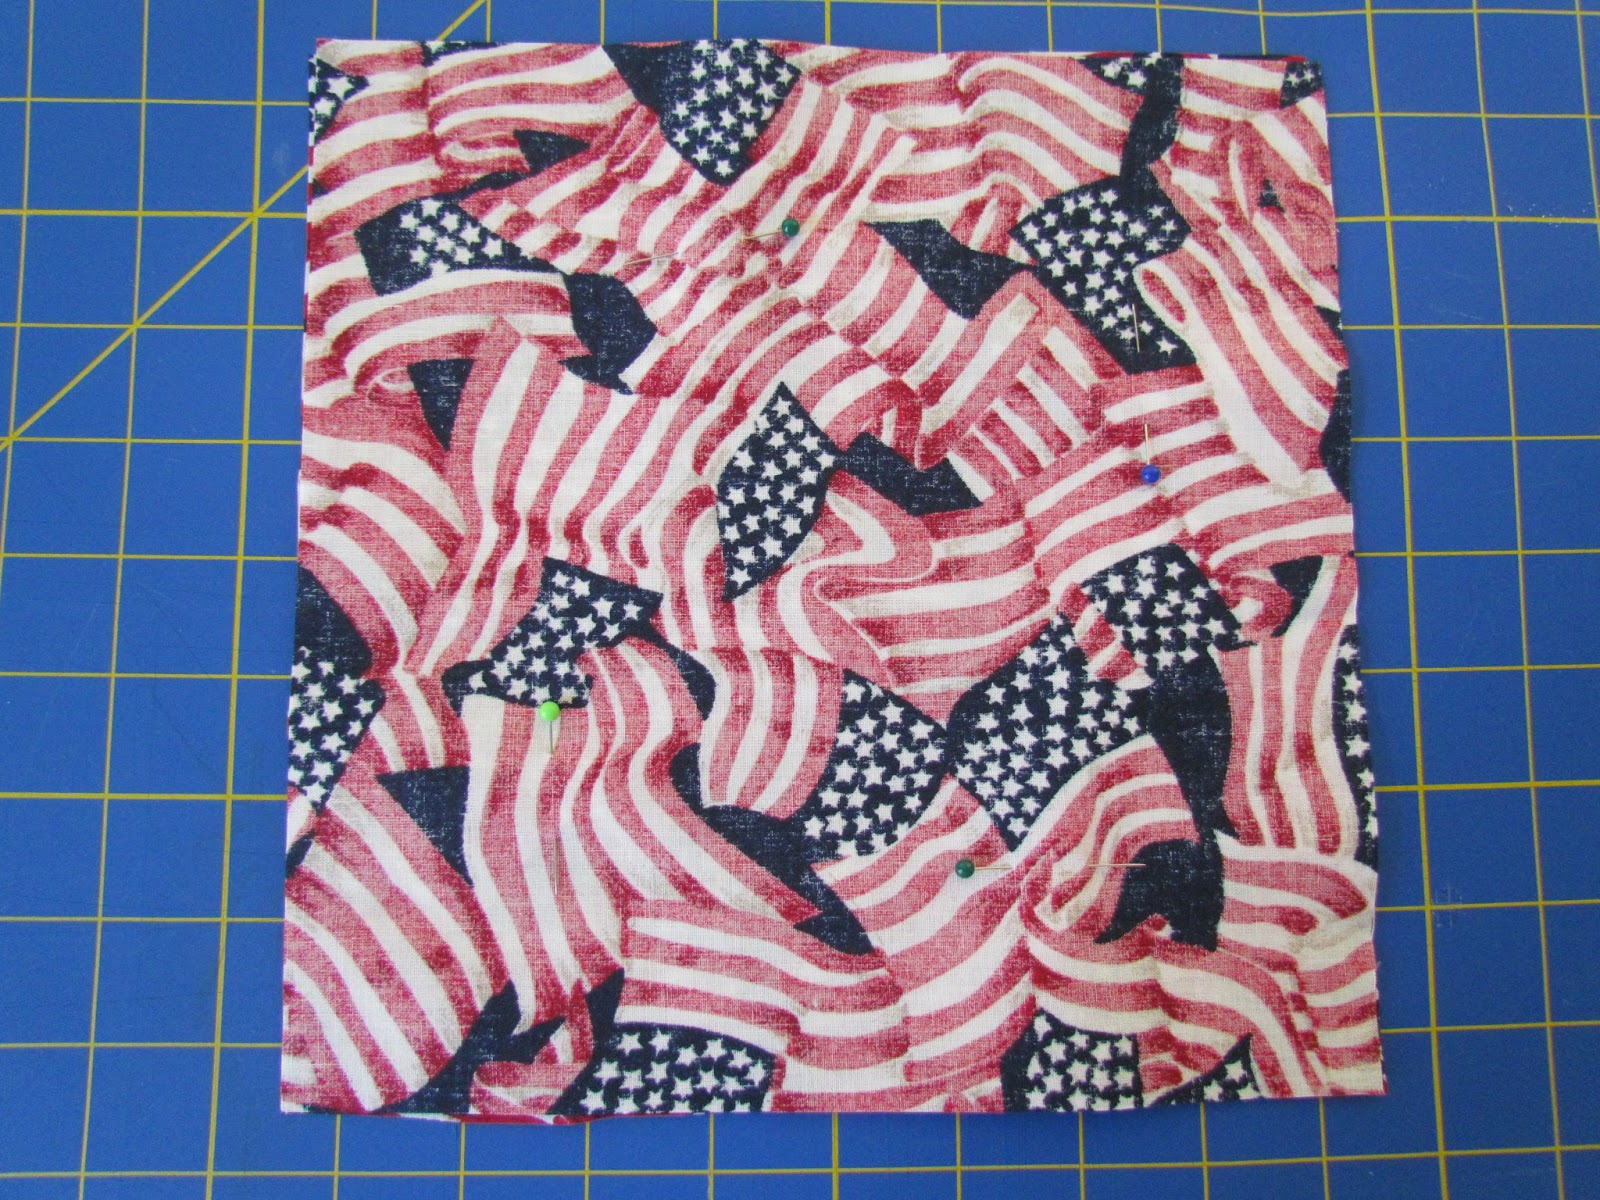
2) Measure and cut 9" x 9" squares-- remember measure twice, cut once! In cut goods, this will be 4 squares end to end. In fat quarters, its 2 across and 2 up. Cut 2 squares for EACH napkin! (4 napkins will require 8 squares)

3) Match 2 squares with right sides together. Pin if you want.

4) Sew around outside with an approximately 3/8" seam allowance. Be sure to leave a 2" opening to turn!! I highly recommend back stitching at the beginning and end of this sewing step so when you are turning, your stitches don't come loose with all the tugging and pulling!


5) Snip corners very close to stitching line (so corners will be square after turning).

6) Turn square right side out.


7) Press with iron. Be careful to align front and back. Also make sure square is fully turned out.

8) Sew 1/4" top stitch around entire edge of napkin. This will close your turning hole and make a nice finished appearance! And, it all but eliminates the need for pressing!!


9) Repeat for remaining napkins.


I've found that these will fit folded in half in most napkin holders. Just use as you would a regular paper napkin. If you happen to get them particularly gunky, just rinse it off before putting it in the laundry-- this worked wonders with spaghetti night and the 6 year old who just won't use a fork.

Napkin Fun:


If you have any questions or comments, feel free to ask below!

Click "like" to follow us on Facebook!