
This time last year I walked you through an easy (and inexpensive) way of getting rid of paper towels. I'm happy to say that we've stuck with it and didn't buy any paper towel until we needed some for camping this summer!
I think the key to success (for me) has been having a system in place designed to make it convenient-- because let's be honest here-- things that are difficult or a pain rarely get maintained! So my program includes having the container of towels right on the countertop-- no need to even open a drawer. They are as easy to access as a paper towel would be (and perhaps even easier since you don't have to rip it off the roll). Secondly, I have a small bathroom size wastebasket (serving as a laundry basket) RIGHT NEXT TO the trash can. So its in exactly the same spot I'd throw a paper towel away. How easy is that? Lastly, I have enough towels to have a full box, plus a complete refill. That way there are always towels available.
This year, I'm going to help you get set up with cloth napkins. I think the key to making cloth napkins convenient is actually the design. Some of the annoying things I've found in the past with the cloth napkins I had was that they were WAY too big, needed ironing if I just looked at them AND rarely looked truly clean after the first use. So, around the end of last year, I spent a bit of time fooling around with some size & sewing ideas until I had a napkin that was a good, useful size but not overly large (who really needs a 18" square napkin for a Wednesday night dinner?) and used a durable (and clean-able) fabric. I also wanted something that wasn't a pain to sew and would absolutely NOT require ironing!
What I ended up with are 2 ply napkins, sewn from quilting cotton fabrics. These are readily available for a very reasonable price, come in cute patterns to suit any décor or holiday theme and are designed specifically to be washed and used over and over again. The finished size of the napkins are approximately 8" square. This is about the size of your standard paper napkin.
I have had a LOT of fun making these. I've been using them at home as well as giving them to friends and family to be tested out in the real world. In fact, there is a certain friend out there that if I don't stop sending napkins to her, she's gonna have one for each day of the year! I've even started making some to sell in my Etsy shop!
That being said, I'll walk you through the process:
Materials:
*1/4 yard of 100% cotton fabric for every 2 napkins-- so if you want 4 napkins, you'll need 1/2 yard total. This can be cut off a bolt of fabric or fat quarters. I've really enjoyed using fat quarter packs to make coordinating (but not matching) napkin sets for a fun casual look. You can also do one fabric on the front and something completely different on the back.
*cutting tools: fabric scissors or rotary cutter/mat
*ruler or cutting guide
*thread-- ideally matching or coordinating with your fabric
* sewing machine -- any old guy will do-- probably even one of those handheld "as seen on tv" guys could probably do the job!
*iron
Directions:
1) Iron all creases & wrinkles out of fabric. I know it seems premature but it really makes cutting and sewing easier without all those creases-- especially in those heavily folded fat quarter packs!
2) Measure and cut 9" x 9" squares-- remember measure twice, cut once! In cut goods, this will be 4 squares end to end. In fat quarters, its 2 across and 2 up. Cut 2 squares for EACH napkin! (4 napkins will require 8 squares)
3) Match 2 squares with right sides together. Pin if you want.
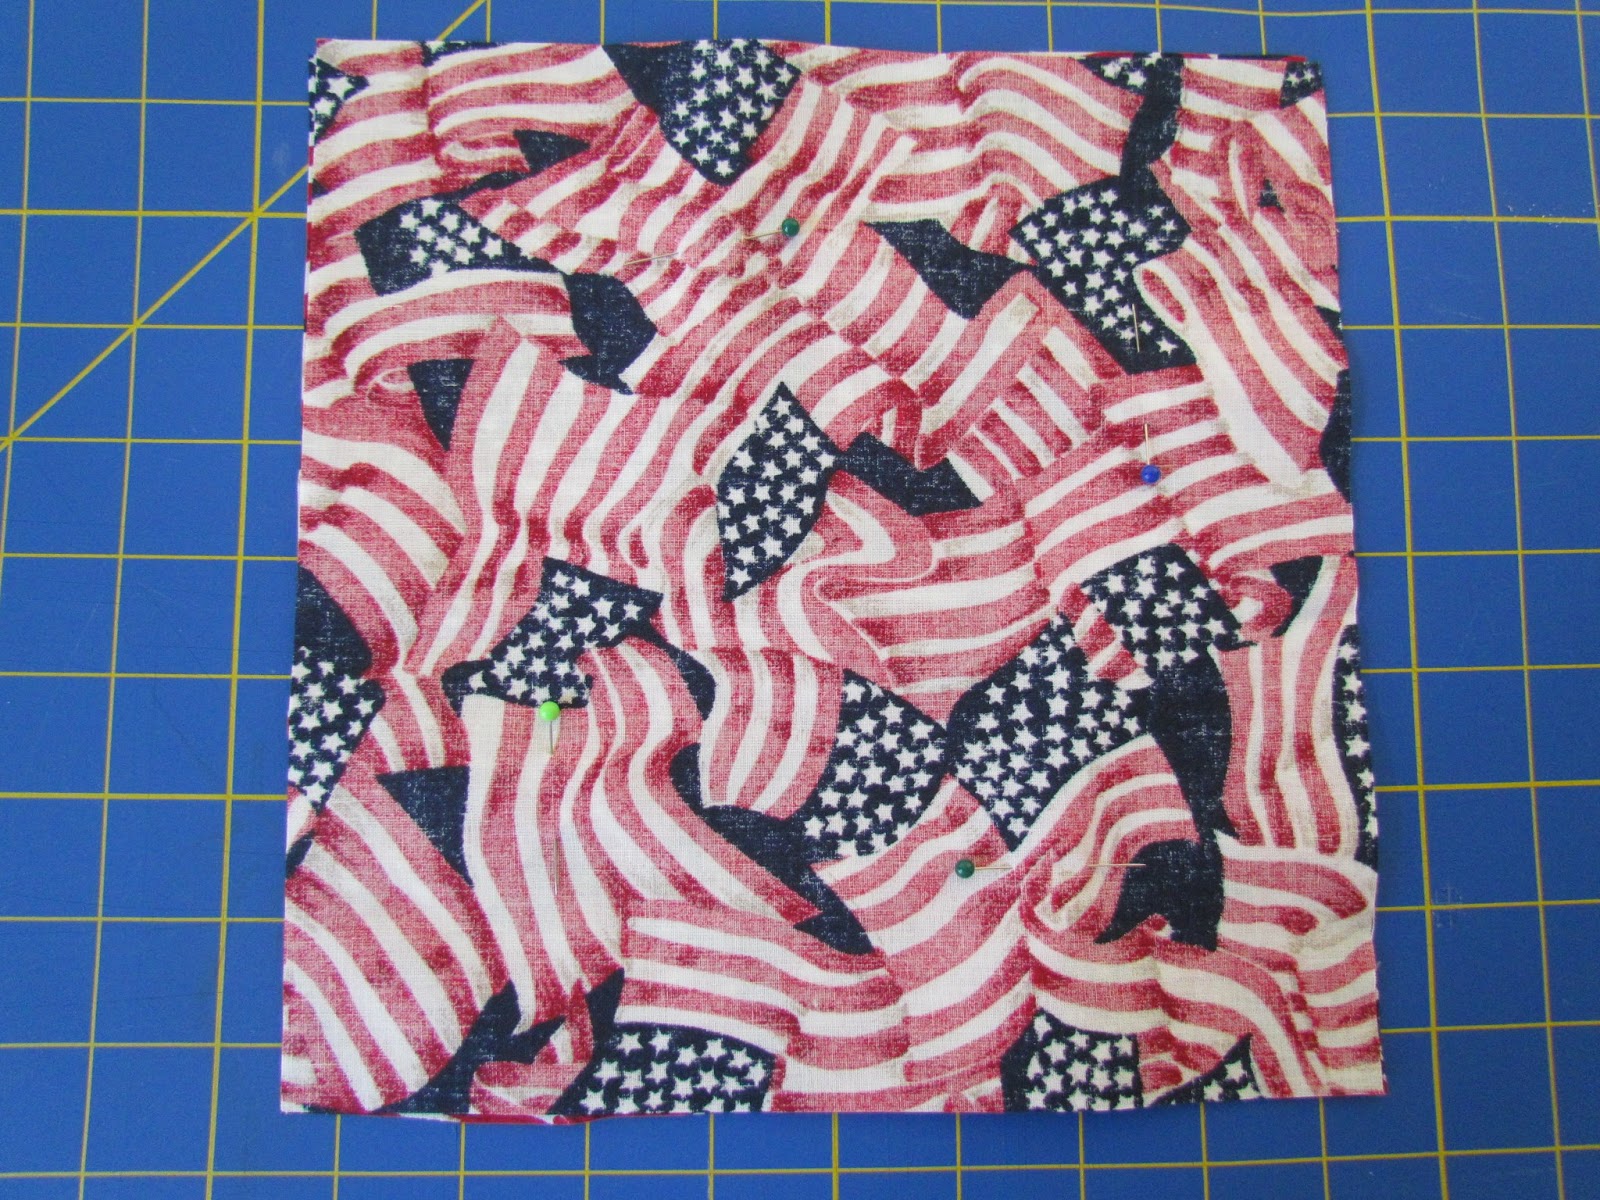

5) Snip corners very close to stitching line (so corners will be square after turning).


7) Press with iron. Be careful to align front and back. Also make sure square is fully turned out.
8) Sew 1/4" top stitch around entire edge of napkin. This will close your turning hole and make a nice finished appearance! And, it all but eliminates the need for pressing!!

9) Repeat for remaining napkins.

Napkin Fun:


If you have any questions or comments, feel free to ask below!
Click "like" to follow us on Facebook!
No comments:
Post a Comment